


A New Kind of Strike Indicator
There are plenty of strike indicators out there. Some people like them, some people (purists) won’t be caught dead with them. I tend to not use them usually for several reasons. That being said, I fish for relaxation and the rush that comes from the moment you know there’s a fish to the moment you land it. So if I don’t catch a fish, it was still better time spent. But let’s be real; we all wanna catch fish and it sucks when we don’t. Big time. So if I think I’m having trouble feeling strikes or getting the nymph to the right water depth on a given day, I’ll put on a strike indicator!
One day while skimming through some fly fishing articles, I came across something that caught my eye. It was a strike indicator system that had the potential to be a new favorite. I looked up the company, and soon learned that the system was in fact a bad mama jama. The company’s name is The Strike Indicator Company. They’re based out of New Zealand. The tool is called The New Zealand Strike Indicator Tool. The kit consists of all items needed to include: the tool, tubing, and yarn.
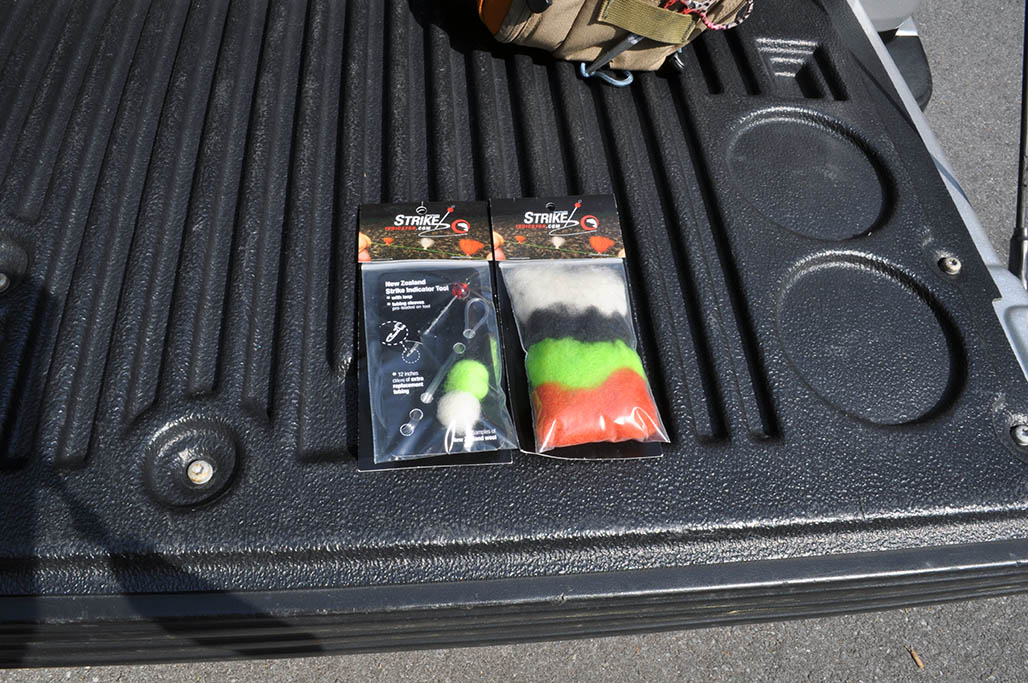
Tim Flagler of Tightline Productions has an excellent video on the indicator on The Strike Indicator Company’s website. In the video, he goes over the instructions and benefits of the tool. When dealing with indicators, there’s adjustable and nonadjustable. The nonadjustable foam ones are cheaper and float like champs, but have that one time use kinda thing going. Too often the depth is not continually adjusted to the proper depth while moving through a stream. And they either fall off in the water, or are just about impossible to get off. On the other side, the adjustable ones are a little more expensive, but for the most part reusable. Some are more complicated than they’re worth, some instantly sink, and some are aerodynamically challenged. But some are just fine. And although there are others, I really like the simplistic, yet effective approach these guys took with design.
There are no kinks in your line to weaken strength and adjusting is really simple. It requires no twisting two pieces in the direction you hope is right. And the yarn can either be bought through the company, or another if you see fit. The yarn is reusable too; just dry it out and it’s ready to go again. Any time I can save money, I’m happy. I decided to try out the tool to see just how easy it would be for me. I found that it can easily be done with one hand.
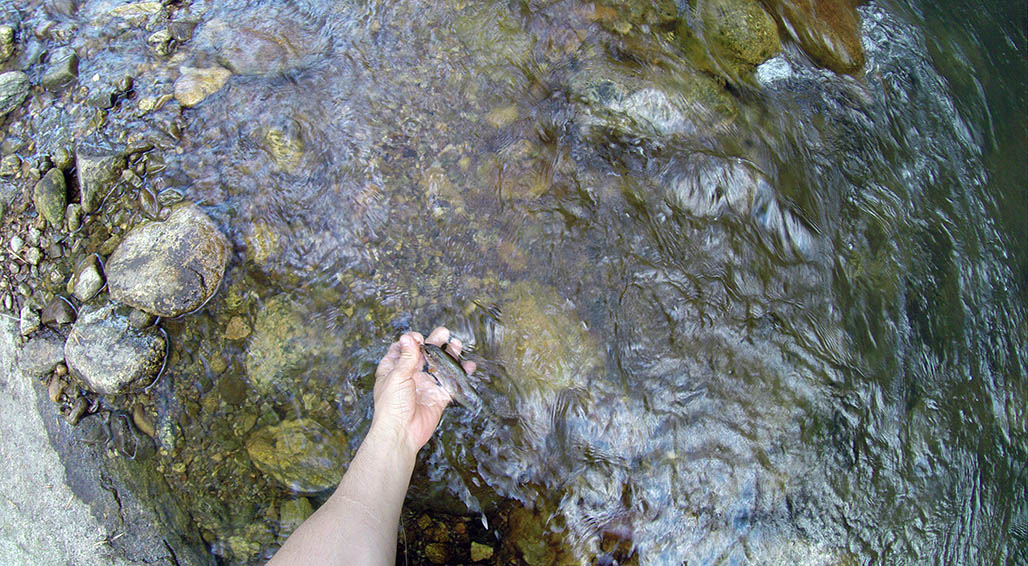
I tested the product out in a brook trout stream that has plenty of fast flow and plunges. I wanted to have a variety of water conditions to test it out on. I initially tried it out in slack water. I was impressed with how buoyant it was. I was pleased with how well it cut through the air. I must admit, I expected much more drag resistance. Here’s a wild rainbow I picked up on the slower water.

After a while, I moved up to faster water. I had to adjust the height of the indicator for the new water, and just as I hoped, it was totally easy. You just pull the tubing from around the yarn enough to allow you to slide the yarn up or down the leader. While we’re on the subject, let me stress the importance of adjusting nymph depth. Fish change feeding posture constantly. Water temperature and level changes, sunlight changes, food source changes, life cycle changes, the list goes on. All these variables can make fish change depth, so it really is important to constantly evaluate your nymph depth just as you do so with your imitation selection. Here’s another rainbow I got in the faster water.
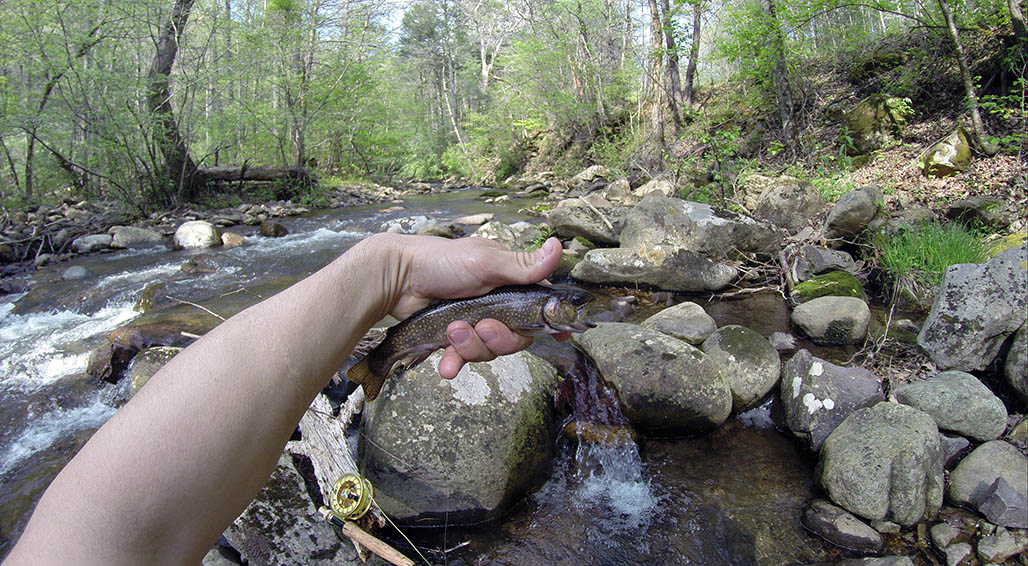
The faster water did prove to be less forgiving on the strike indicator. I had to dry it occasionally, as if I were using a dry fly. So the same principles apply. If you lift your line slightly while rushing through the runs, the strike indicator won’t get sucked under and waterlogged. In addition, if you false cast several times, you can prolong the frequency of having to hand dry the strike indicator. After two strikes on the actual strike indicator, this brook trout finally took the nymph under it. Obviously, it wasn’t spooked by the strike indicator….
My final thoughts on the strike indicator are definitely positive ones. It was easily seen in the water and adjusting the position on the leader was a breeze. I’m not gonna say that this strike indicator is something I’d use for every trout application out there. With trout, you need to use different methods and constantly change things up. I will say that this tool will be part of my gear from now on. A lesson learned would be to try to use a solid piece of yarn. What I mean by that is to make sure it’s not straggly. The more of a ball it is, the better it floats and doesn’t get straggly. It may be helpful to carry some scissors to trim it up after getting it on the leader. Go get one and test it for out yourself! And let me know your thoughts below.
July 5, 2014 @ 10:47 am
Josh,
I ordered this product from the BIG auction site back in the winter of 2013 as I liked the idea of wool instead of “bobbers” on my line, mostly for casting reasons.
I started using it this spring and haven’t wavered from it, attesting to what you stated about ease of application and combined with fly floatant, it lasts through multiple outings without redressing! I particularly enjoy false casting with it and split shot as it doesn’t inhibit the timing of the cast nor spook the fish when the wool lands. I did notice if you place the indicator near the fly on the tippet, it tends to slip. Possibly cutting the tubing slightly longer than advertised may help as it gives the tubing more grip on the wool and finer tippet. For steelhead fishing, it’s believed white indicators spook them less than other colors, as it looks the same as the floatsam on the surface. Will have to try that theory this fall! The colored wool has brought trout strikes out of nowhere as well! Another feature I like is you may leave it on the leader when switching to dry flies as it never interferes with the cast and delivery of the fly!
Great blog here, buddy!
Joe
July 6, 2014 @ 5:57 pm
I love getting positive feedback on reviews from other users. And great tip too, thanks. I’m glad you like the indicator too Joe!