


Poor Man’s Desk
I have an amazing piece of furniture to tie on. It’s absolutely beautiful. It has a beautiful bicolor stain. It has a drawer at the base and drawers covering the back piece. It even has tool and spool holders. It’s everything I don’t need in a desk.
This desk has served me well for 4 years now. I’ve tied hundreds and hundreds of flies on it. But it’s not for me anymore. This desk is best used as a hobby tying desk or in that nice river cabin that I don’t have. It’s so nice, I feel bad when I scratch it with a dropped tool. Or when I use it as a cutting board. It has the scars to prove this.

The drawers are small and with the stock that I have, I find myself having to store all kinds of stuff that won’t fit in other storage containers. I forget whether the stuff is in the desk drawer or the container most of the time. I can’t fit things like peacock swords and pheasant tails in the drawers. The back piece blocks me from being able to see my kids when I’m on daddy duty, so I end up having to do a lot of up and down action. These inconveniences add up over time and cause tying for orders to take much longer. I have ADD/ADHD and I tie with one arm… I need no help in prolonging this stuff people.
The spool and tool holders are awesome in theory, but what if you have more than 8 spools of thread, wire, tinsel, etc? What happens when you have more tools than a whip finisher, a bobbin, and that tool you bought when you first started that you’re still not exactly sure the purpose of? You start getting unorganized. That’s what. Just like with the materials, things start getting placed in temporary and random spots. I have a hard enough time finding stuff that my daughter “borrows”.
The last, and biggest reason this desk is not what I need at this point is the size of the workspace. Wow. It’s got bout a 12″ x 24″ of workspace. Like I said earlier, this is great for a hobby or river cabin tying desk. But when you’re cranking out flies almost 7 days a week, you can never have too much space. So with all these things running through my head, I knew I needed a change. But I couldn’t afford to spend a lot of money buying or building some extravagant desk because I have a full house at home and am not rich… So what to do? Go to Lowe’s, that’s what.
I wanted a simple desk that was under $100 to build. The trick was to still somehow make it look nice and classy. I went with a 18″ x 72″ workspace with the option to build another if an L-shape was ever desired. I didn’t want to actually build an integral L-shaped desk to one side. If I ever rearranged or anything and needed the short side to be on the opposite side, I’d be in trouble with an integral L-shaped desk. I went with simple cheap materials. 1/2″ plywood, 3/4″ bc plywood, 2/4’s, and some rough 2×8’s for a unique and classy top.
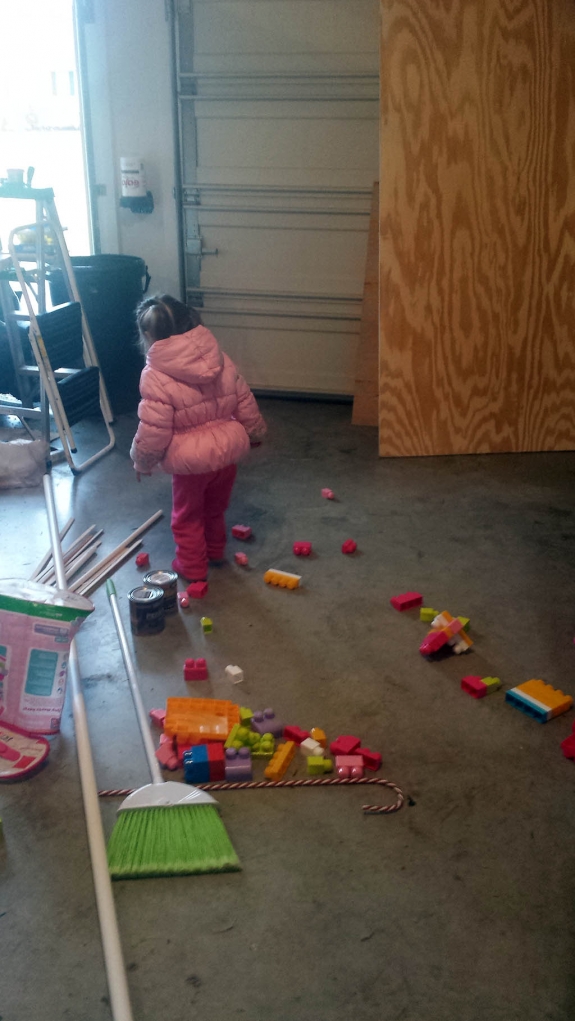
Just as soon as I started, I had to move cause apparently this is Emma Jo’s work area.
Since these cheaper materials are not the smoothest, I spent a good amount of time sanding em up.

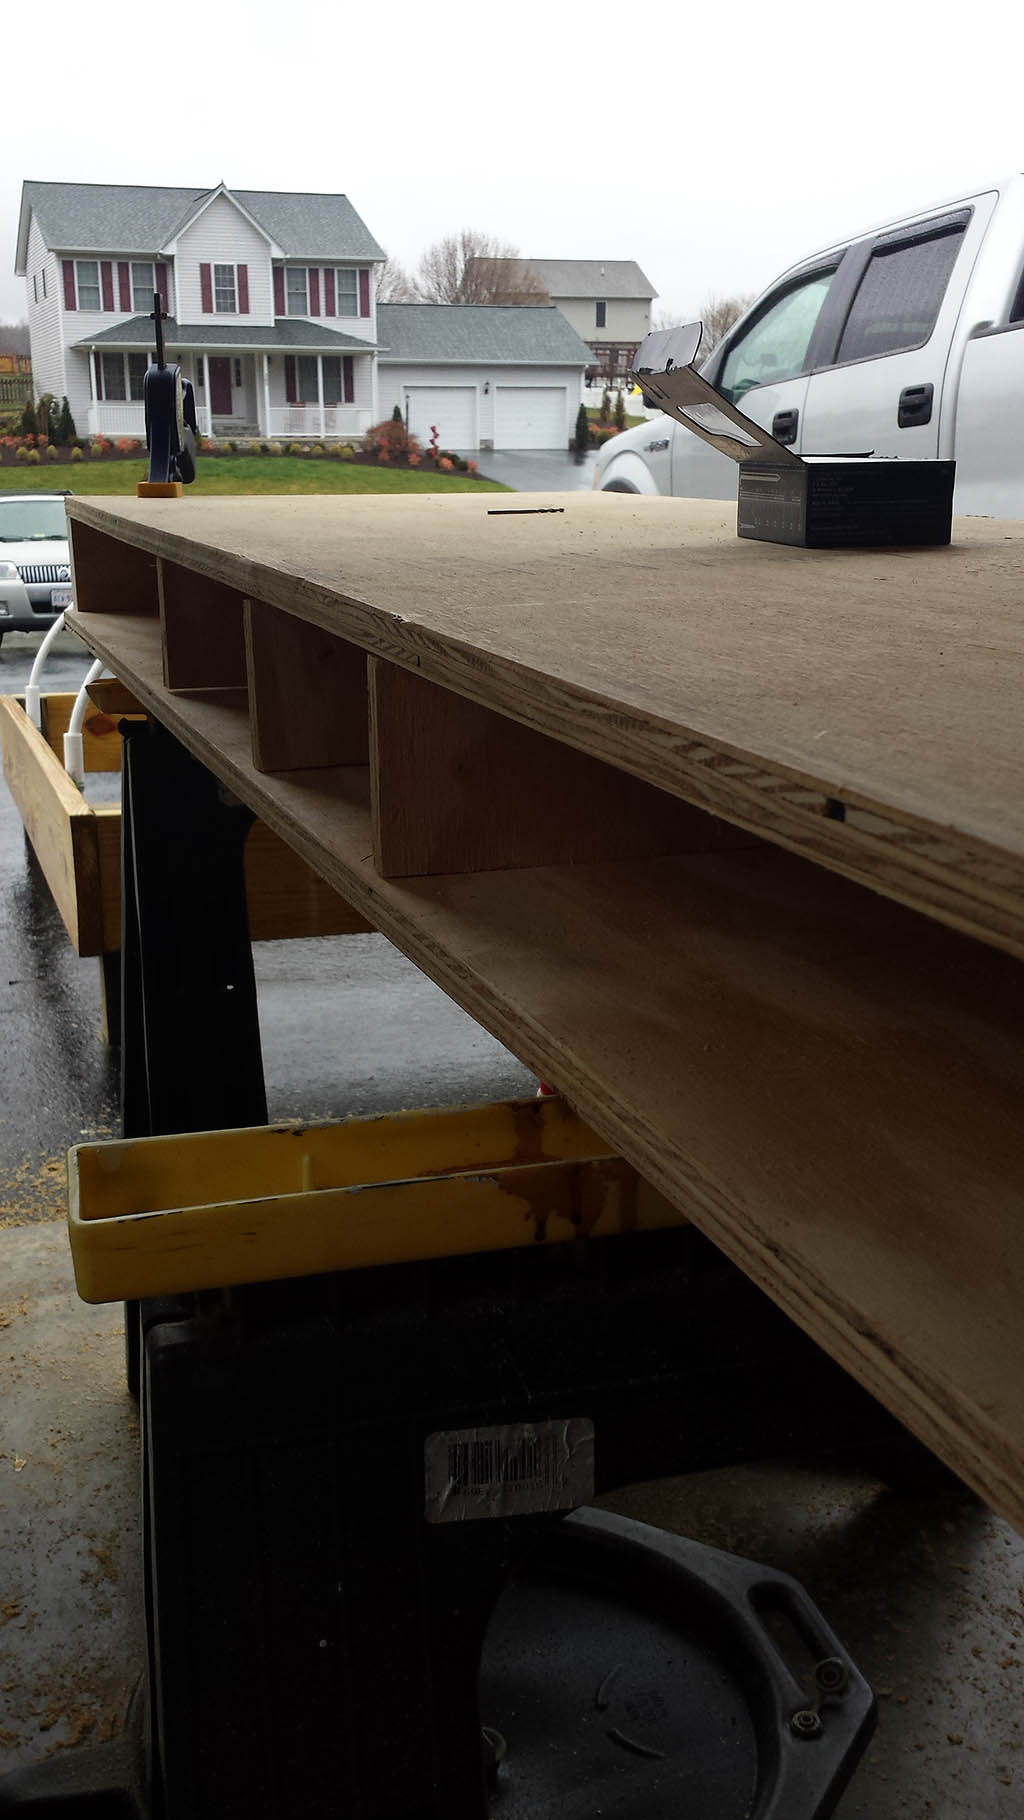
I started framing up the plywood base using the bc plywood. And I wanted huge open storage space for stuff too. The dividers are what I used the 1/2″ plywood for. Before screwing the stuff together, throw in some wood glue for added support in the seams and it’ll be solid. And pre-drill plywood any time you’re drilling perpendicular to the smooth surface or the screws will crack it for sure.
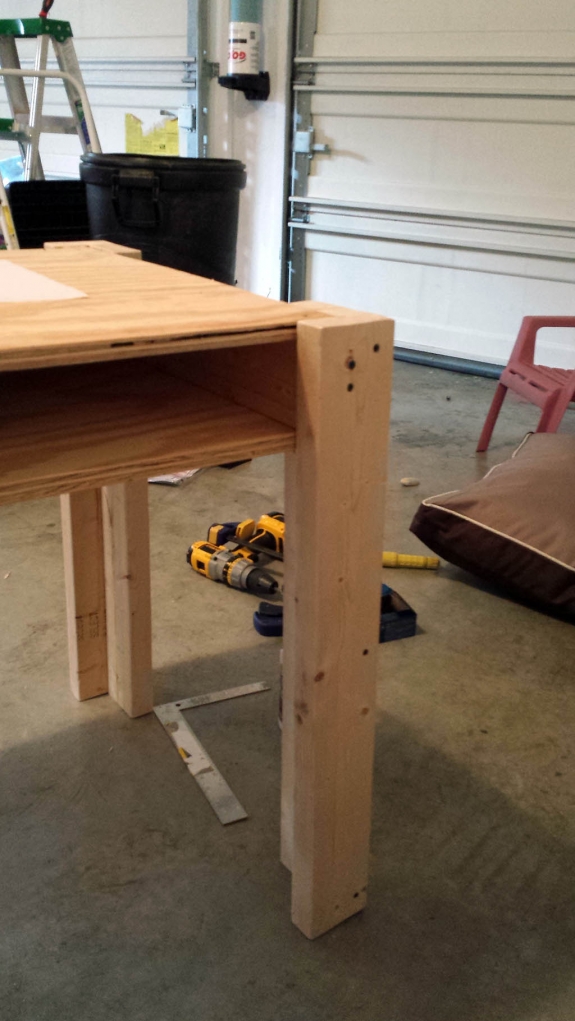
Next were the legs. This is how to be resourceful when you need an extra hand. I just mashed the screw in til it stuck.

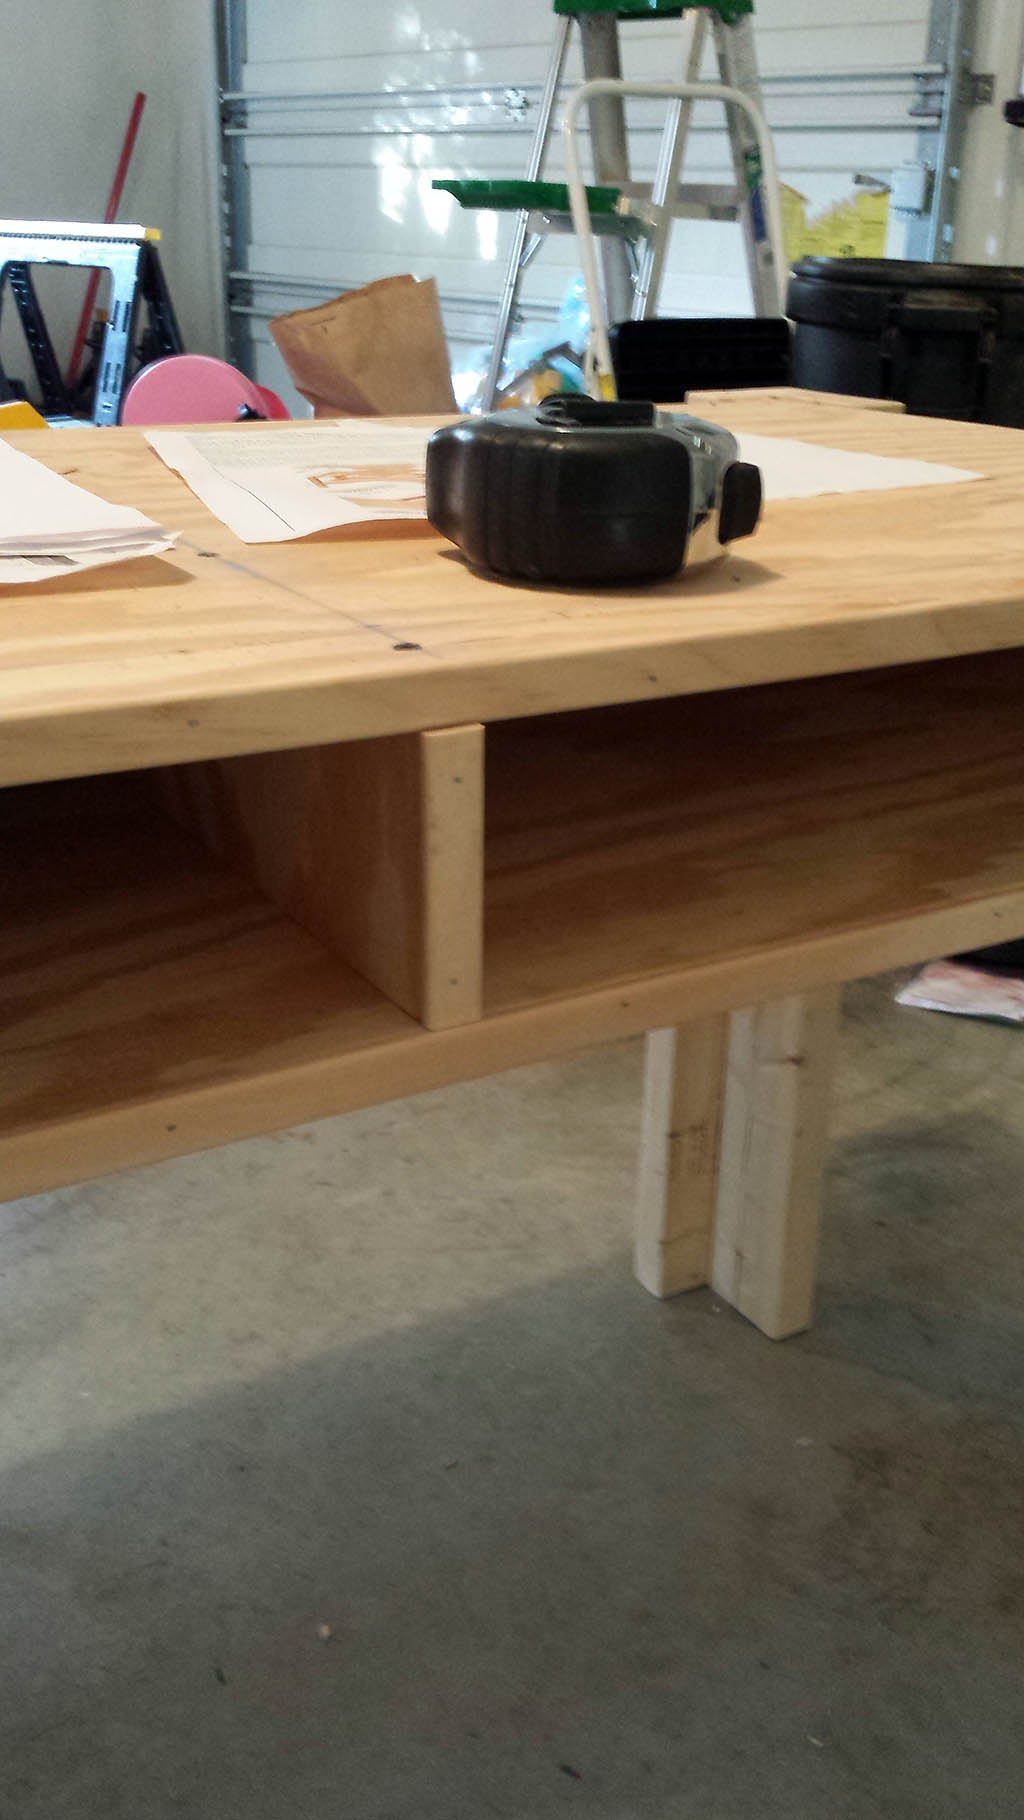
Starting to look like a desk…
Emma Jo felt the need to help draw on my base board.

Brad nailing some molding around the dividers are a cheap way to add appeal.
The first coat of Minwax Polyshades Mission Oak Stain on the 2″ x 6″ boards. I sanded random areas between coats and left others unsanded to try and give a more reclaimed look to them. This also meant I wouldn’t be upset when I marked the desk up or anything (which is inevitable).

After two more coats…

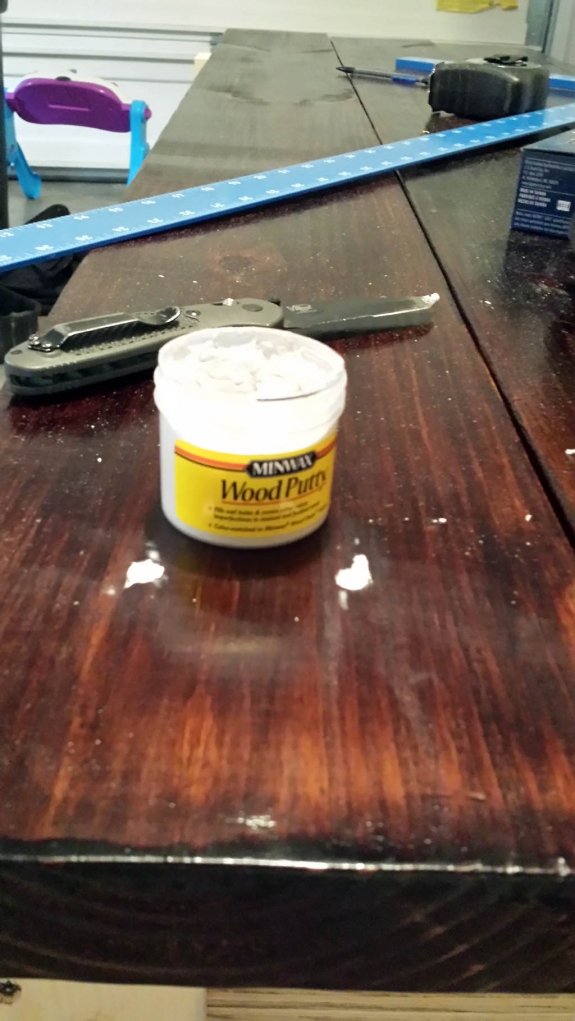
They were ready to be screwed down to the desk. I used wood putty to cover the countersunk screws and then stained the spots to blend them in.
I stained a couple coats on the base and legs. I also laid a coat of Minwax Clear Satin Polyurethane on the top and dividers to give a slight glow and protection. If you’re going to build something like this, make sure you have a mat like this Hareline one so your beads don’t roll into the cracks of the desk.

Too often we get caught up in having to have the best of the best. We mess up on prioritizing and lose sight of what’s really important. I know there are plenty of nicer desks out there; I’ve seen them. But I’ve always been more of a practical kinda dude. I have a desk that I built that’ll serve its purpose with character, and I have money left over for groceries. Win-win.

April 11, 2014 @ 8:39 pm
Nice job! I like the plastic storage drawer setup, nice and practical. A larger work area like you have now is number 1 for me – your old desk was crippled that way – you need to be able to spread materials out in order to tie larger quantities effectively. Have fun!
April 21, 2014 @ 7:44 am
Couldn’t agree more Rod. Let me know how yours turns out. And yeah those storage containers from wal mart are a lifesaver.
October 3, 2020 @ 9:09 am
Well 6 years on and my fly tying ‘desk’ has shall we say, grown? just a tad … maybe two tads. But it’s now 3x the size it was in 2014. Wish I could post a photo here, but suffice to say I’ve added a LOT more plastic drawer units, especially the smaller 20-drawer units for hook and thread storage. Started out with 3, now have 7. And 2 x 2-drawer units with drawers perfect size for storing Whiting & Metz & Keough hackle … of which I have around 80 (embarassing isn’t it … :-/ ) ah never mind, at least I don’t have to worry about buying hackle for a while … 2050 maybe. I’m fortunate in that my office is a corner room with 2 big windows so loads of natural light to work by. Sitting here atm tying up smelt imitations (using Tommy Tape) to throw at 8 to 20 lb Brook, Tiger and Apache Trout that are swimming around in a 5 acre pond … last visit saw me busted off on 6, 8 and 10 lb tippet … so it’s 15lbs next time! Since I first posted here I have retired from full time guiding/teaching, so now I have plenty of time to hunt, fish, tie flies, camp, etc.
October 3, 2020 @ 9:13 am
BTW, I also invented a car fly tying desk. Folds up flat and stores behind the seat. Hooks onto the ‘panic’ handle on the passenger side and sits against the glove compartment. Again, pity I can’t post photos here. I posted it on Facebook on my Flytrek page, ended up with a dozen orders straight away, although I didn’t intend to be selling them. So now I can sit comfortably in the passenger seat and tie even when it’s raining.
April 18, 2014 @ 2:49 am
Nice desk! I think I’m going to start drafting a table design up. I need a replacement for my 4ft folding table and some more storage space.
April 21, 2014 @ 7:45 am
Let me know how it goes Bobby!